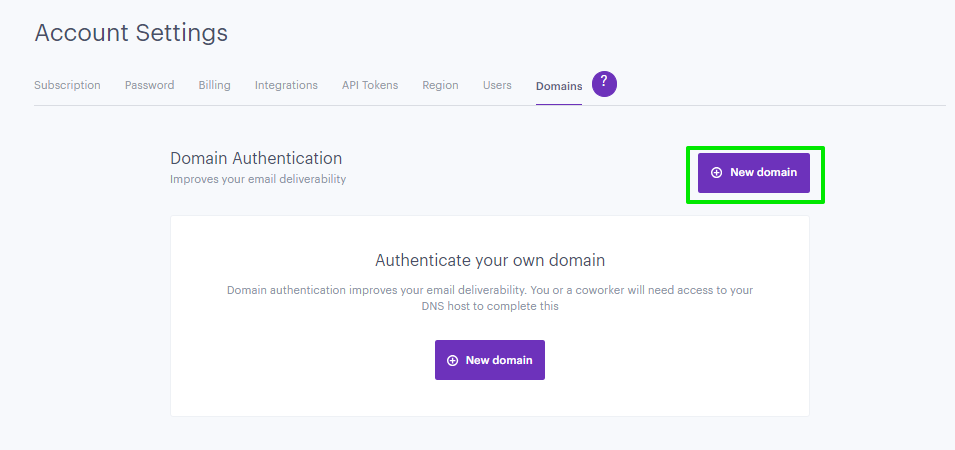
Starting from February 1st, 2024, Google has made it mandatory for senders sending over 5K emails per day to Gmail accounts to set up domain authentication. This is to strengthen defences against email spoofing and phishing. To comply with these new requirements, Audience Republic requires customers to set up CNAME and DMARC Records. These records will help ensure your emails are authenticated and will not be flagged as spam or phishing attempts by Gmail.
Domain Authentication is a mechanism that verifies the email from the point of its origin by validating the email sender. It improves your sender reputation and helps make sure your emails stay out of the spam filter.
An email domain is the part of an email address that comes after the “@” symbol.


How to add Domain Authentication
- Step 1: Where are your nameservers hosted? Is this your domian host or website builder
- Step 2: Go to Account Settings > Domains, please refer to this guide: How to create & authenticate a domain

Step 1: Install the CNAME Records
Check out How to add & authenticate a domain

Example of the CNAME Records:

Example of Installing the CNAME Records on your Host site:

Step 2: Install the DMARC (TXT) record
There should only ever be one DMARC record per domain, and it should have the following format (shown below). If you have an existing DMARC record, then do not replace it, just ensure it starts with the version (v=DMARC1) and specifies a policy.
Domain | Type | Value |
_dmarc | TXT | v=DMARC1; p=none; |
Example of DMARC (TXT) Record:

Important points to consider:
- ⚠️ There should only ever be one DMARC record per sending domain
- DMARC records can contain additional mechanisms, but at the minimum must specify the version and a policy
- “v=DMARC1; p=none” is the simplest policy, however your organization may have stricter requirements.
Edit DNS with common Domain Providers
Below are some guides for managing DNS records with popular domain providers. If your provider is not listed, log in to their website and search for help documents or contact customer support.
GoDaddy: Add a CNAME Record
Google Domains: DNS Basics
Hostgator: Manage DNS records
Hover: Edit DNS Record
IONOS: Configuring CNAME Records
Namecheap: SPF & DKIM
Squarespace: Advanced DNS Settings
Stablehost: How do I get to cpanel?
Wordpress: Adding Custom DNS Records
Siteground: Create CNAME Records
Wix: Adding or updating CNAME Records
Amazon Web Services: Configuring DNS, Resource Record Types
Bluehost Bluerock: Manage DNS Records
Bluehost Legacy: DNS Management
Dreamhost: DNS Overview
Step 3: Whitelist IP Addresses
- 149.72.130.38
- 159.183.131.162
- 159.183.133.191
- 167.89.126.148
- 167.89.109.131
- 149.72.199.88
- 149.72.198.177
Here is the full list of 20 sending IP addresses for reference:
- 149.72.130.38
- 149.72.198.177
- 149.72.199.88
- 149.72.207.81
- 149.72.232.237
- 149.72.31.51
- 149.72.55.245
- 149.72.80.52
- 159.183.129.178
- 159.183.131.162
- 159.183.133.191
- 159.183.143.54
- 159.183.144.99
- 159.183.197.188
- 167.89.109.131
- 167.89.126.148
- 167.89.53.93
- 167.89.64.185
- 168.245.31.83
- 168.245.32.156
*Please note that these steps must be completed before you send your first email otherwise it will put your email reputation at risk.
Still need help?
Contact us at support@audiencerepublic.com
Was this article helpful?
That’s Great!
Thank you for your feedback
Sorry! We couldn't be helpful
Thank you for your feedback
Feedback sent
We appreciate your effort and will try to fix the article